Hello and Welcome on the official SCFE documentation. In this section, you will find not only all the essential knowledge to get started with the application, as well as all the information needed to become a POWER USER. We hope that this documentation will help you in your quest of mastering our software. --> If you have any questions about how to use the application, please feel free to contact a member of the team.
Let's first of all, learn quickly how this documentation works.
Anytime you need to use a key shortcut, we will write shortcut itself in the following manner:
,
or, separated by a "+" when you need multiple keys: (e.g: when used in SEA mode)
ctrl + ,
REMARK: Please note that we will only show the shortcuts for the NAV mode. If you seek the shortcuts for SEA mode, please combine ctrl to the NAV mode shortcut.
REMARK: Furthermore, please note that if a shortcut is explicitly written with the Ctrl key, you will have to use the Ctrl key even in NAV mode.
Understanding the UI
When you open the application, you will get something resembling the following:
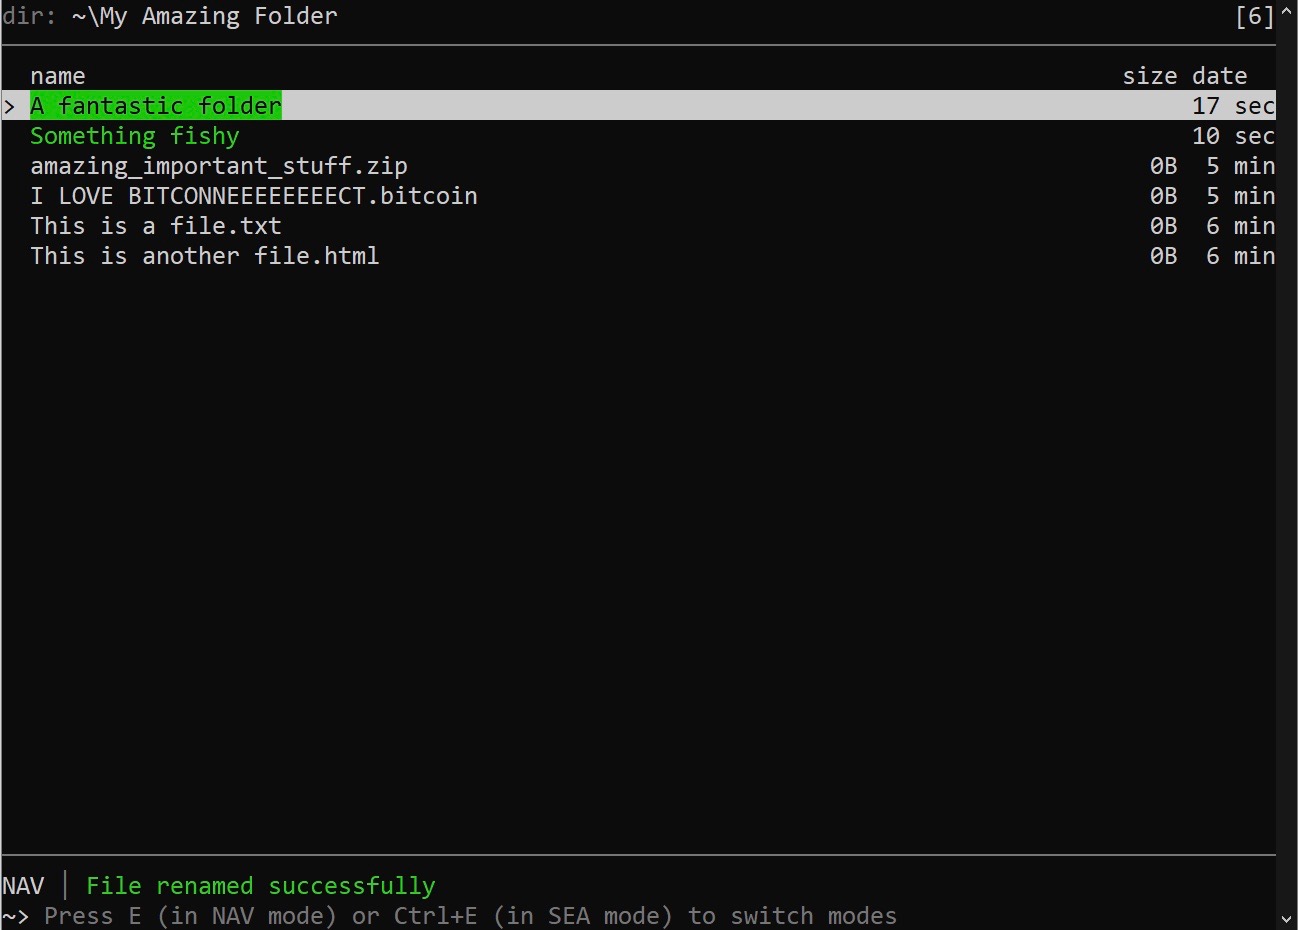
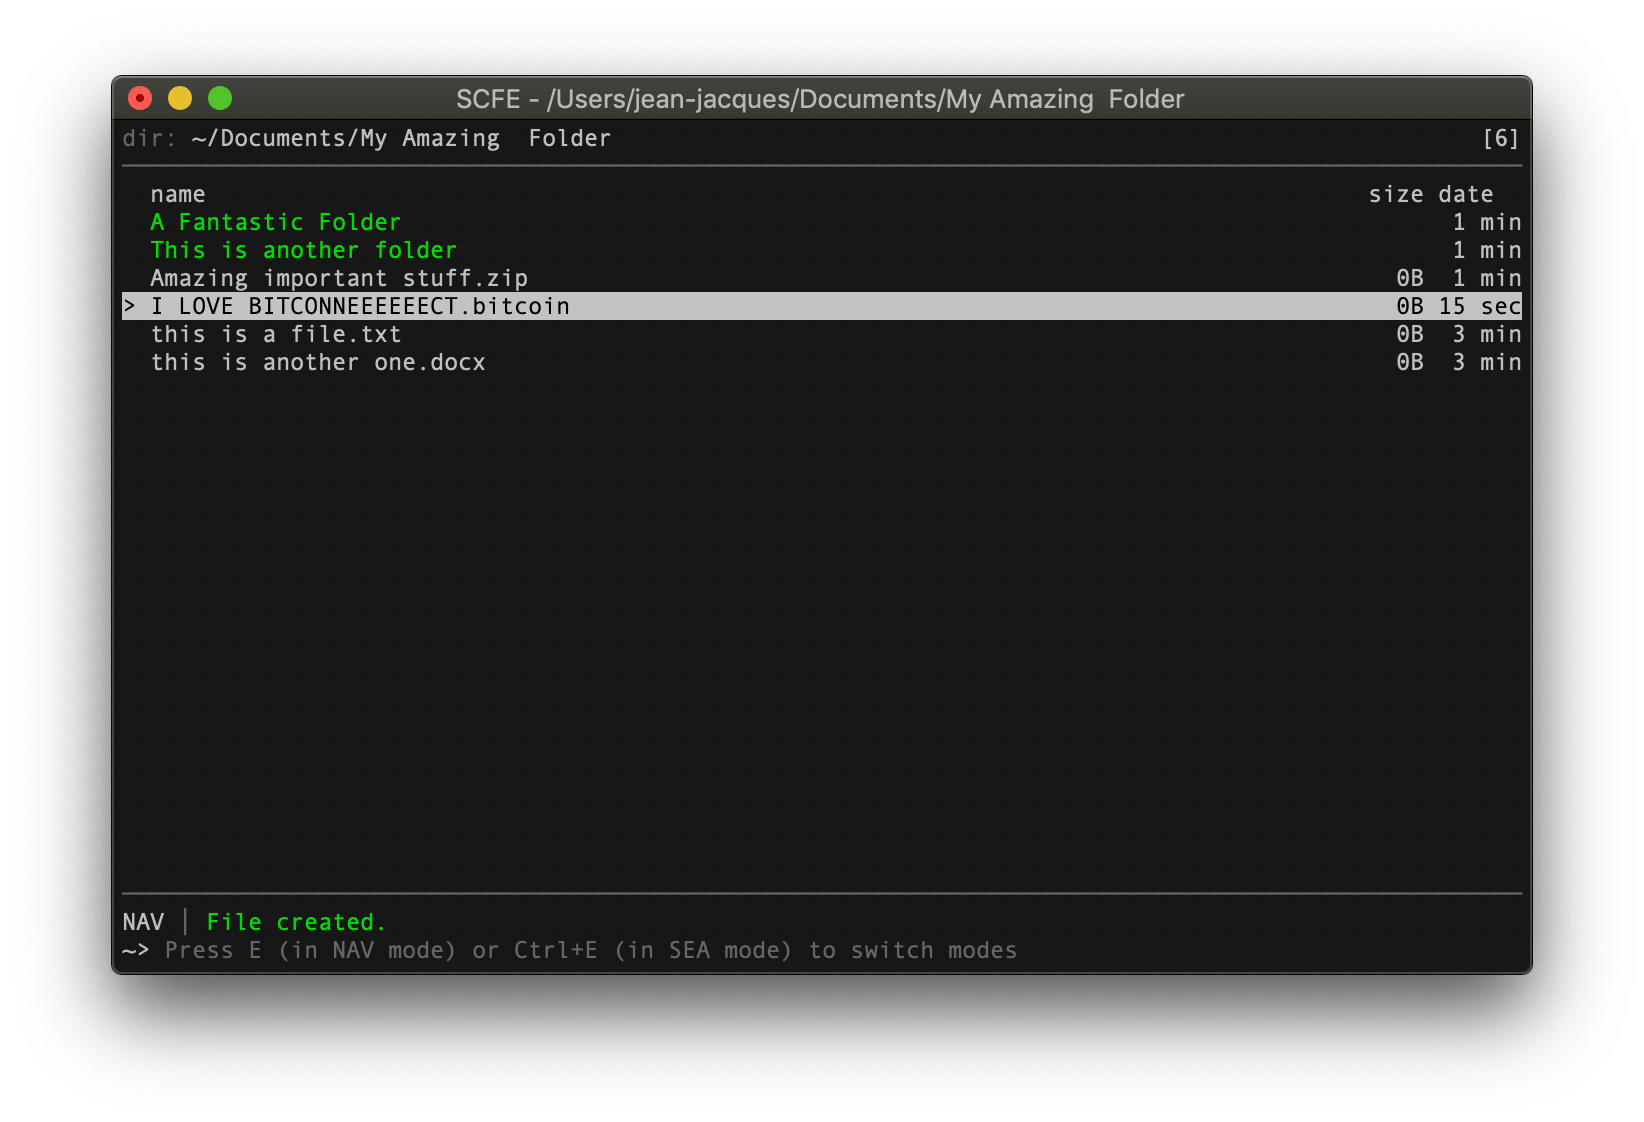
Let's present what each element of the window represents:
dir: (top left) corresponds to the path to your current folder
[6] (top right) corresponds to the number of element in your folder
elements in green correspond to folders
elements in white correspond to files
elements on the right of each line respectively correspond to the size and last modification date
NAV corresponds to the current mode of the application, on its right you can find the status message bar
~> Corresponds to the text bar which is mostly used in the SEA mode and when SCFE needs some input from you (e.g: renaming a file)
REMARK: If you ever wonder if you have files selected/copied or other, just quickly glance at the status message. It will give you a good idea of the status of the application.
Introduction to navigation modes
The SCFE application provides you with two main navigation modes. Those are NAV and SEA respectively NAVigation and SEArch. To switch from one to the other, you have depending on your current mode 1 or 2 alternatives which are:
e |
If you are currently in NAV mode and want to switch to SEA mode |
Ctrl + e |
If you want to switch from either mode to the other |
The main difference between both search modes is that: (newbie | simplified)
in NAV mode the keys of your keyboards are shortcuts that allow you to navigate through files extremely efficiently
in SEA mode you have to maintain the Ctrl alongside the NAV mode shortcut in order to use a shortcut. The reason for this difference is the fact that you can type in names of files and folders in the SEA mode which you cannot do in NAV mode. (to learn more, see (SEA mode | Like a boss))
Remark: you can use the Ctrl key as well in NAV mode
Remark: for advanced users, See
Navigating your files
Although there are different ways of navigating your files in SCFE, we will here discuss the simplest and most instinctive one. The one you need to know to get going. The basic keys you need to remember are henceforth:
← The Back Arrow |
key corresponds to a go to the parent directory |
↓ The Down Arrow |
key corresponds to move the cursor down |
↑ The Up Arrow |
key corresponds to move the cursor up |
→ The Right Arrow |
key corresponds to the go-to children directory/enter key |
REMARK: If you use the right arrow key on a file, this will open the file in question just as the return key would
Remark: As indicated previously, for advanced users, more powerful navigation technics can be found in the
Doing things with files
If you ever find yourself wondering how to perform a basic operation, think OOOOOOption. Why? Because when you type o (in NAV mode or Ctrl + o in SEA mode), it launches a "File Option" page. From this page, you will not only be able to complete the focused action by hitting the ENTER key but the application will also remind you of the essential shortcuts for day-to-day actions. To get rid of the "File Option", just press the ESC key or go to the button labeled "back" and press ENTER
Another very important shortcut to remember is Shift + o which will open the "Current Directory Options". This enables you to perform daily actions on your current folder (such as refresh, create a new folder...)
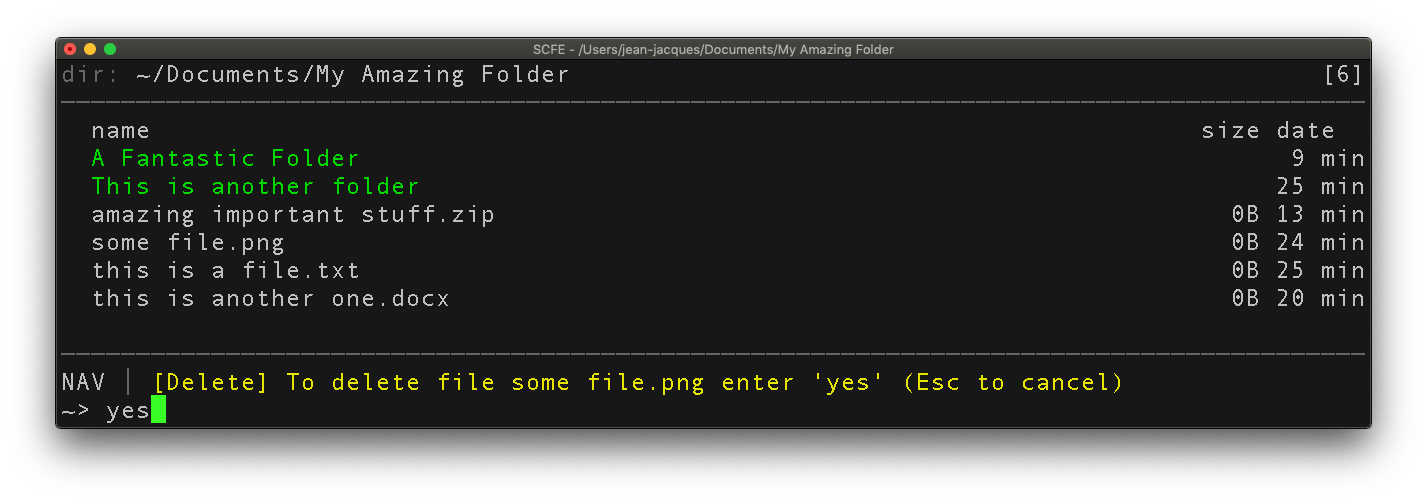
When SCFE needs input from you
You now recognize the typical SCFE window. Here we redirect your attention towards the bottom of the window. In the Text box area.
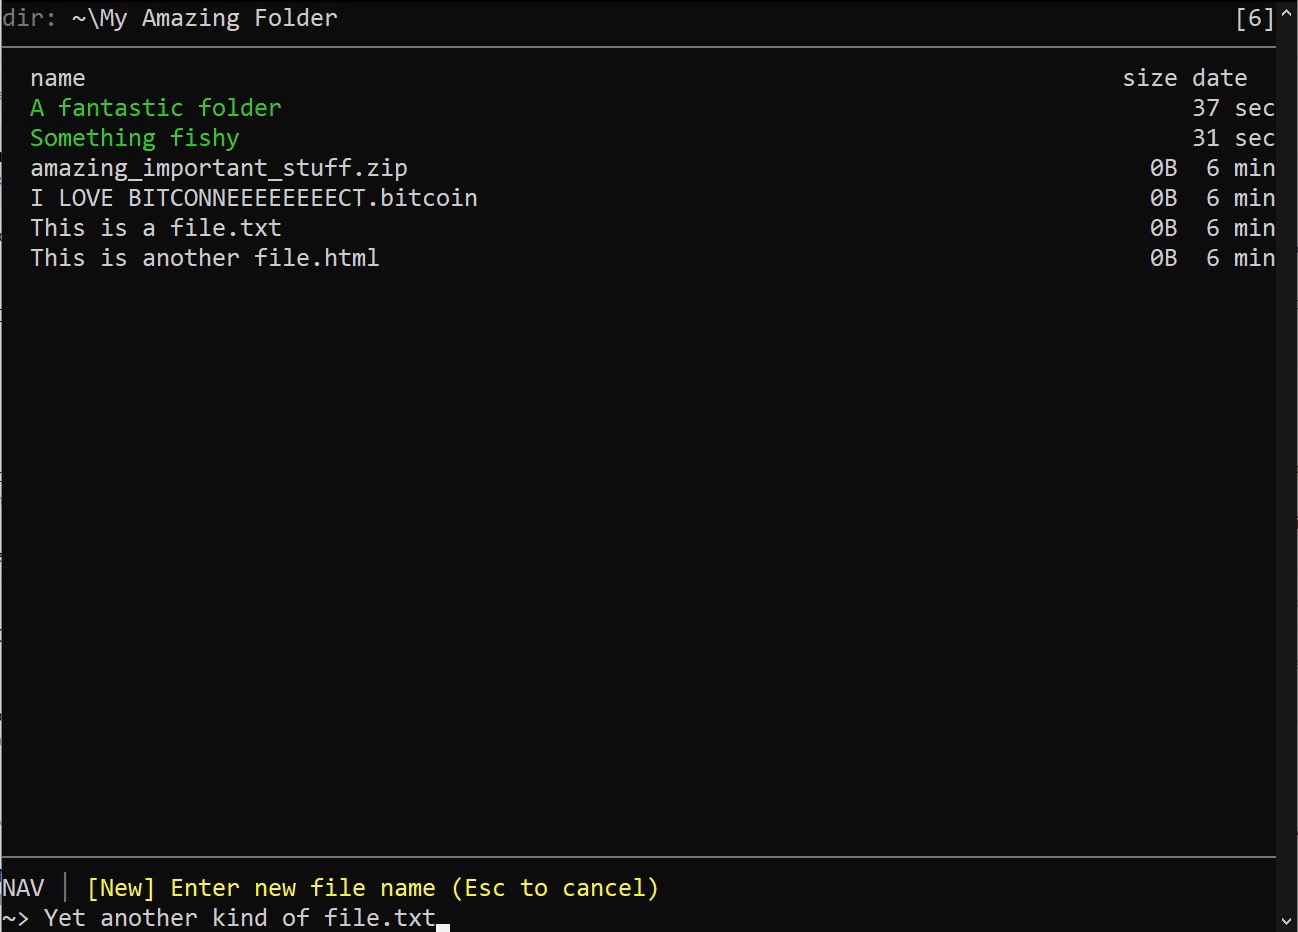

Here, you can see someone, here an SCFE member, create a new file from the application. Where we want to draw your attention though, is to what you have to do when the application requires your input. When this happens, the application will, on its own, focus on the text box. If you have a doubt concerning what you have to do, remember to have a glance at the status message, it will tell you what to do. In this case, the user has to give a new name to the file he is creating.
All the shortcuts seen in this part are prety much straight forward as you will see as you discover them.
Remark: If you want to cancel any action on files/folders, just press the ESC key once.
Creating
n |
to create a new file |
shift + n |
to create a new folder |
Editing
c |
to copy a file/folder |
x |
to cut a file/folder |
v |
to paste a file/folder |
r |
to rename a file/folderr |
Multiple file selection
SPACE |
bar to select files/folders |
s |
to select files/folders |
selecting multiple files will look something like this (Here two files are selected, the ones in blue):
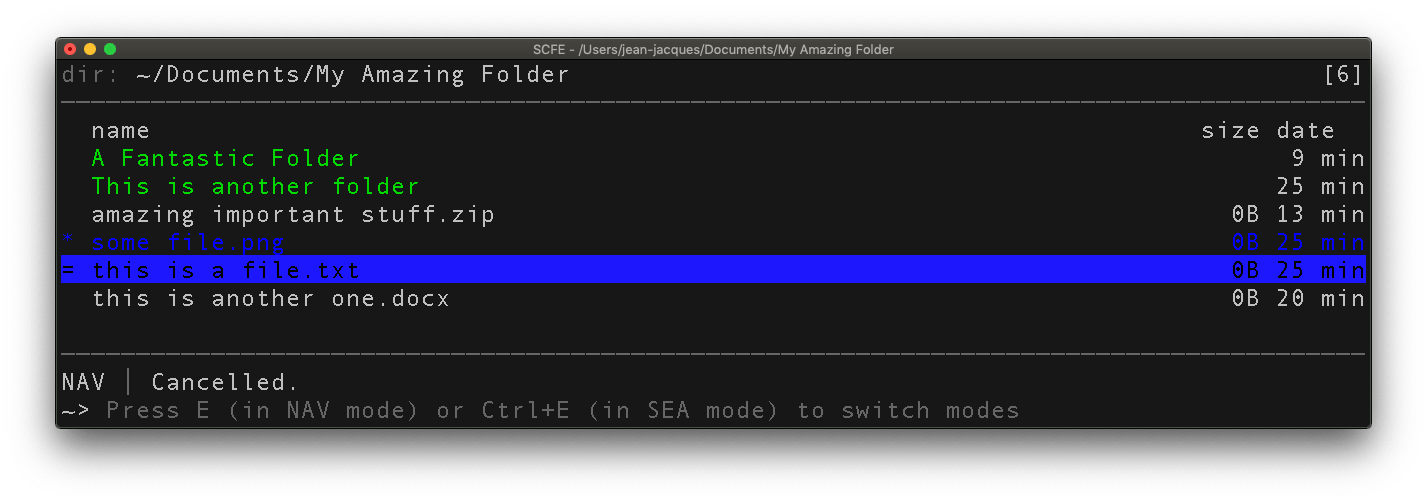
Remark: Selecting multiple files in SCFE is very powerful as you can operate actions on all of those at the same time (e.g: deleting multiple files, etc.).
Remark: It is nice to note that most of the previous and following shortcuts will work conjointly with selecting multiple files. Although, some actions like renaming are not compatible with multiple file selection at the moment
Deleting
Please note that deleting a file/folder requires confirmation. Therefore you will need to procede as follows to delete in SCFE:
DELETE |
key to delete a file/folder |
remark: Please be mindful that deleting a file in SCFE is permanant and therefore cannot be undone. There are not trash/trash-can of any sort.
Remark: Please note that on macs the DELETE key is optained by pressing Fn + SUPR
This section of the documentation is for those of you who already master the Basics I__ part of the documentation and want to get more out of their daily use of SCFE. You will learn here, how to show hidden files, navigate through your files extremely fast and finally how to Change the sorting order in the app.
Showing hidden files
t |
to toggle hidden files/folders |
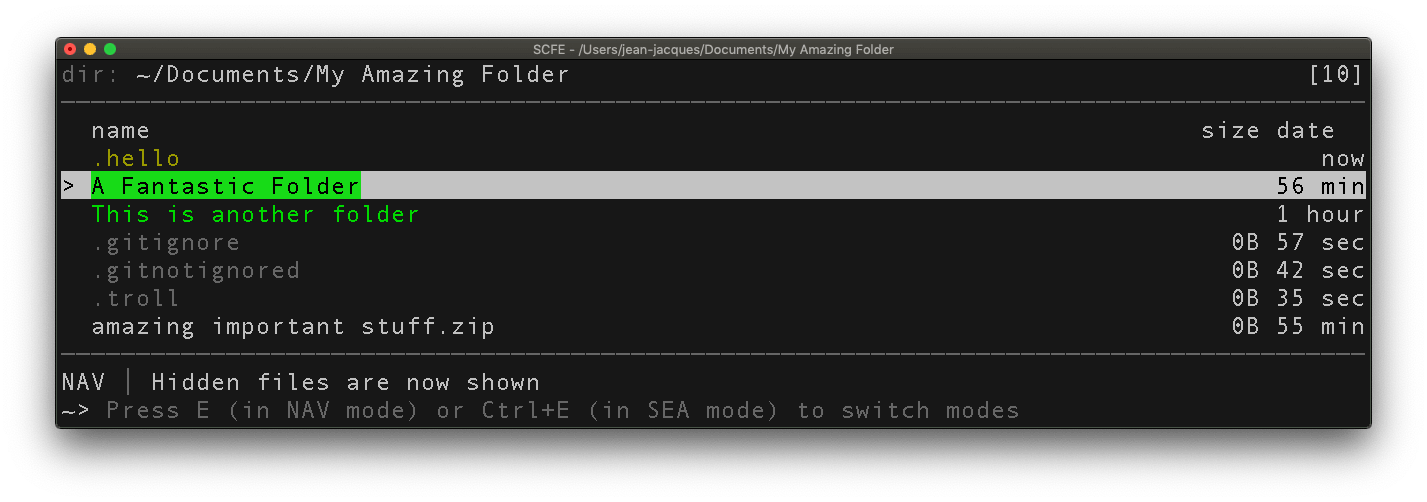
Remark: Hidden files are shown in gray and hidden folders in orange. This way is is easier to differentiate them from traditional files/folders
Go-to
g |
To use go-to |
This functionality is very powerful! And as you are probably already an advanced user, you must know your folders by heart from the hundreds of hours you spent looking for files on your machine. If so SCFE might just have become dear to your heart. Indeed, the Go-to functionnality allows you to go to any directory in your machine using an absolut path.
Change Sorting method
Shift + S Change Sorting order |
SCFE as quite a lot of different sorting methods to suit your needs and preferences. Unfortunately, for now we do not save those preferences from one session to the other. The different Sorting methods are:
A → Z |
sorting by name |
.A → .Z |
sorting by extension |
big → small |
sorting by size |
recents → old |
sorting by date |
Toggle sorting order
Shift + Q |
Toggle Sorting order |
The toggle sorting order functionality allows you to just switch the order in which you display the files depending on your sorting method. For example if you sort from A → Z toggling it will end up by showing the files from Z → A.
COMING SOON
This section of the documentation will mainly set its focus on how to use git in SCFE. This tool being very powerful, we think it deserves a substential place in the documentation.
Using Git in SCFE
Remark: We would like to draw your attention to the fact that, the color scheme changes for git repositories. Indeed, you can see that a not-modified file will be displayed in white where as the not-modified folders will be displayed in blue. Modified files/folders will be displayed in brown. Futhermore ignored files/folders will be displayed in gray.
NB: For privacy and security reasons, we do not show nor save any passwords you may enter in the app (this is why you will have to re-enter your password everytime).
Git 1 0 1 : Getting Started
Alt + i |
Initialize a repository in the current directory |
Shift + G |
Clone a repository in the current directory |
Remark: Cloning/Initializing a repository will put you in the directory cloned/created
Git 2 0 2 : Manipulating Files
Shift + P |
Pull from origin |
i |
Stage file if possible |
Shift + C |
Create a commit |
p |
push to origin |
Shift + I |
Unstage file if possible |
NAV mode : Like a boss
Similar to Vim's shortcuts for power navigation, you can use the h, j, k, l keys to navigate through files in a similar manner to the one you would with the arrow keys. Considering:
h |
as ← |
j |
as ↓ |
k |
as ↑ |
l |
as → |
REMARK: Those shortcuts are very powerful as you can notice that the h, j, k, l keys of your keyboard are on the same line making the access to any of those key shockingly easy. The goal is to put your four fingers each resting on one key and ready to enter in action as soon as needed.
Remark: if you don't remember what the arrow keys do, see .
COM mode
Ctrl + Enter |
To swicth to COM mode |
Shift + M |
To swicth to COM mode on Macs |
COM mode is very powerful. You can use SCFE as your normal terminal (or nearly). You can in fact not navigate through your files with the cd command because it would have been redondant with the go-to functionality and would have not worked as well. Although all the other commands you are used to use will work just as expected in the app.